지난 시간에는 팀원들과 함께 Mockup과 API 설계 등의 SA 설계를 했다.
주말과 오늘을 이용해서 장고 프로젝트에 도움이 될 수 있도록 공부하는 시간을 가지고, 코드 구현을 찾아보면서 해보았다.
보통 강의 내용 위주로 참고하여 코드 구현을 하였으며, 아직 익숙하지 않은 상황이라 이해가 되지 않는 부분 또한 있었으며 다소 오래 걸린 것 같다.
우선 createsuperuser 명령어를 통해 admin 계정을 하나 생성해주고, 테스트용 user 및 movie 모델과 댓글을 위한 모델을 생성해주었다.
class TestUser(models.Model):
    class Meta:
        db_table = 'user'

    user_id = models.CharField(max_length=20, null=False)

    def __str__(self):
        return self.user_id


class TestMovie(models.Model):
    class Meta:
        db_table = 'movie'

    movie_id = models.CharField(max_length=256, null=False)

    def __str__(self):
        return self.movie_id


class MovieComment(models.Model):
    class Meta:
        db_table = 'comment'

    user_id = models.ForeignKey(TestUser, on_delete=models.CASCADE)
    movie_id = models.ForeignKey(TestMovie, on_delete=models.CASCADE)
    comment = models.CharField(max_length=256)
    user_rate = models.IntegerField(validators=[MinValueValidator(1), MaxValueValidator(5)])
    created_at = models.DateTimeField(auto_now_add=True)
    updated_at = models.DateTimeField(auto_now=True)

    def __str__(self):
        return self.comment
이후 makemigrations와 migrate로 모델이 바뀐 것을 수정 및 반영해주고, 생성한 admin 계정으로 admin 페이지에 접속을 해준 뒤, 테스트를 위한 임의의 데이터 값을 넣어주었다.


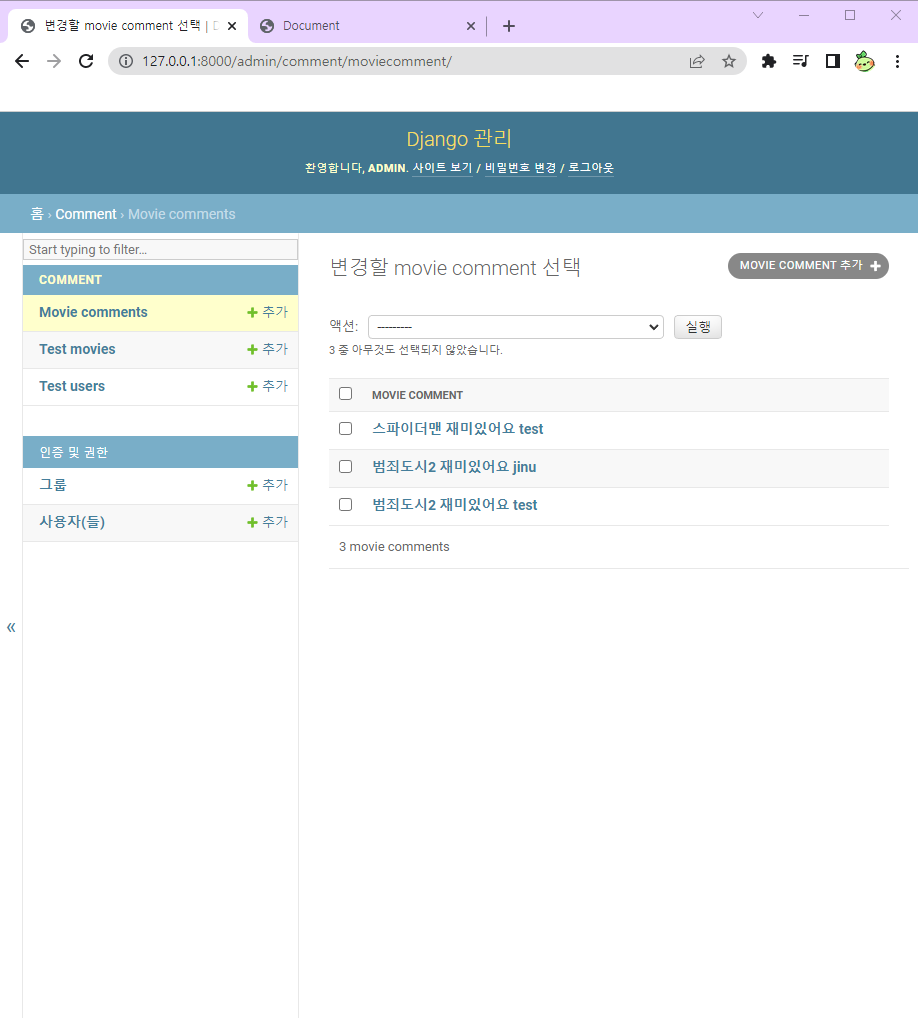
댓글 데이터 값으로는 models.py에 다음과 같은 영화로 지정을 해주었다.
class MovieComment(models.Model):
    class Meta:
        db_table = 'comment'

    user_id = models.ForeignKey(TestUser, on_delete=models.CASCADE)
    movie_id = models.ForeignKey(TestMovie, on_delete=models.CASCADE)
    comment = models.CharField(max_length=256)
    user_rate = models.IntegerField(validators=[MinValueValidator(1), MaxValueValidator(5)])
    created_at = models.DateTimeField(auto_now_add=True)
    updated_at = models.DateTimeField(auto_now=True)

    def __str__(self):
        return self.comment
임의의 TestUser 모델의 유저 id와 TestMovie 모델의 영화 id를 ForeignKey로 연결시켜 주었다.
그리고 넣고 싶은 댓글의 데이터 값을 넣어주면 생성되는 것을 볼 수 있다.

이후 views.py에 테스트용 영화 목록들을 보여주고 해당 영화를 클릭하면 댓글을 보여주는 설정을 해주었다.
추가로 댓글 작성 및 삭제 기능도 넣어주었지만, 이후 자세히 얘기해보겠다.
# 기본 템플릿
def home(request):
    if request.method == 'GET':
        movie = TestMovie.objects.all()
        return render(request, 'test.html', {'movie': movie})


# 댓글 보여주기
def detail_comment(request, id):
    movie = TestMovie.objects.get(id=id)
    comment = MovieComment.objects.filter(movie_id=id)

    return render(request, 'comment_list.html',{'movie': movie, 'comment': comment})


# 댓글 작성
@login_required
def comment_create(request, id):
    if request.method == 'POST':
        comment = request.POST.get("comment", "")
        rate = request.POST.get("rate", "")

        # user = TestUser.objects.get(id=id)
        movie = TestMovie.objects.get(id=id)

        comment_db = MovieComment()
        comment_db.user_id = request.user
        comment_db.movie = movie
        comment_db.comment = comment
        comment_db.user_rate = rate

        return redirect('/comment/' + str(id))


# 댓글 삭제
@login_required
def comment_delete(request, id):
    comment = MovieComment.objects.get(id=id)
    comment_id = comment.movie_id.id
    comment.delete()

    return redirect('/comment/' + str(comment_id))
그리고 urls.py에 다음과 같이 URL 설정을 해주었다.
urlpatterns = [
    path('home/', views.home, name='home'),
    path('movie/<int:id>', views.detail_comment, name='detail-comment'),
    path('movie/comment/<int:id>', views.comment_create, name='comment-create'),
    path('movie/comment/delete/<int:id>', views.comment_delete, name='comment-delete'),
]
해당 페이지를 보여줄 HTML 파일에는 다음과 같이 확인이 가능하도록 짧게 구현해두었다.
<div class="row">
	{% for mv in movie %}
	<div>
		<span>{{ mv.id }}</span>
		<a href="/movie/{{ mv.id }}">
			<span>{{ mv.movie_id }}</span>
		</a>
	</div>
	{% endfor %}
</div>
정상적으로 영화 목록들이 생성되었고, <a> 태그를 사용하여 이름을 누르면 해당 영화의 댓글 페이지로 이동하게끔 설정해주었다.
{# 댓글 작성하는 곳 #}
<form class="input-group mb-3" action="/movie/comment/{{ movie.id }}" method="post">
	{% csrf_token %}
	<label for="user_rate">평점:</label>
	<select id="user_rate" name="user_rate">
		<option value="1" selected>1</option>
		<option value="2">2</option>
		<option value="3">3</option>
		<option value="4">4</option>
		<option value="5">5</option>
	</select>
	<input type="text" class="form-control" id='comment' name='comment' placeholder="댓글을 작성 해 주세요" />
	<button class="btn btn-outline-secondary" type="submit">작성</button>
</form>
<hr>
{# 작성된 댓글 불러오기 #}
{% for cm in comment %}
<div class="row">
	<div class="col-md-12">
		<div class="media">
			<div class="media-body">
				<h5 class="mt-0"> {{ cm.comment }} </h5>
				<span> {{ cm.user_rate }} 점 </span>
				<span> {{ cm.user_id }} </span>
				<span> - {{ cm.created_at | timesince }} 전</span>
			</div>
		</div>
	</div>
</div>
<hr>
{% endfor %}
하지만 아직 로그인된 유저의 값이 없기 때문에 평점과 댓글을 작성한 뒤 작성 버튼을 눌러도 오류가 나는 것을 볼 수 있었다.
그래서 이후에 로그인 및 회원가입 페이지를 이용하여 로그인한 유저의 정보를 받아와서 댓글을 작성할 수 있게끔 만들어 볼 예정이다.
그리고 아직 삭제 버튼이 생성되지 않은 것을 알 수 있는데, 이것도 로그인한 유저의 정보와 작성한 유저의 정보가 같아야 삭제 버튼이 생겨야 하기 때문에 아직 html 코드 구현을 하지 않았다.
추후에 보완을 하며 완성해나갈 예정이다.
-
주말과 오늘까지 주어진 시간은 다소 많은 듯 싶지만 순식간에 지나가기도 했고, 주말에 막상 할 시간이 부족하여 구현을 많이 못한 점이 아쉬웠던 것 같다.
그리고 공부하는 과정에서 자료 조사를 하는 시간이 길고 정보가 부족했으며, 아직까지 장고에 대해 이해하지 못하는 부분도 다소 있었다.
또한 html 코드를 만져보면서 jinja2 템플릿 문법이 많이 어렵고 활용 방법을 잘 몰라서 더 헤맸던 것 같다.
차츰 나아지고 있는 것 같지만 아직은 많이 부족한 면이 주관적으로도 보이는 상황이며 남은 프로젝트 기간이 조금 걱정이 되었다.
:C
'TIL 및 WIL > TIL (Today I Learned)' 카테고리의 다른 글
| [TIL] 2022.06.09 (Django 추천 시스템 팀 프로젝트4) (0) | 2022.06.10 |
|---|---|
| [TIL] 2022.06.08 (Django 추천 시스템 팀 프로젝트3) (0) | 2022.06.08 |
| [TIL] 2022.06.02 (Django 추천 시스템 팀 프로젝트1) (0) | 2022.06.03 |
| [TIL] 2022.05.31 (Django 기초3) (0) | 2022.05.31 |
| [TIL] 2022.05.30 (Django 기초2) (0) | 2022.05.30 |


